

There’s nothing like the comfort of sinking into a bean bag, especially at the end of the day. Adults and children are equal fans of bean bags. Most bean bags are filled with materials which are quite harmful for the environment. You can make your own DIY bean bag chair – it’s actually quite easy to make. You just have to cut out the fabrics and fill it with some sustainable filler. Take a look at some ways to make it as well as some ideas for your own do it yourself bean bag:
DIY bean bag chair filling ideas
Before you start to make your chair, you can take a look at the various types of eco-friendly filling which you can use:
1. Shopping bags
 One of the alternative fillers can be shopping bags, which could also be plastic, and which you don’t use, but they get piled up. These bags can be fluffed up and used as comfy fillers. Your DIY bean bag chair can have these bag fillers, once you start storing them.
Collect from your family and friends and neighbours too, as you will need quite a few of them – in fact, people will be glad to get rid of them! But before using the bags, twist the handles and insert in the bag, and it’s quite alright if the shape alters. If you have other soft plastic which you want to dispose off, this is one innovative way in which you can do that.
2. Stuffing
Pillow and quilt stuffing can be bought cheaply and you get large quantities for small amount of money. For a sustainable choice, you can buy organic cotton stuffing, or other organic material. Take the stuffing out of stuffed toys which your kids no longer play with or the stuffing from old cushions, mattresses and pillows for your DIY bean bag chair. Any pieces of old clothing which you have left over from other sewing projects can be used as filling too.
3. Beans, leaves, rice
Sure you can use dried beans too, of any variety. You will need a large amount for that. Mix the beans with dried leaves, stuffing and clothes to add volume and comfort. Rice is great filler too, and you can fill heaps of it in your bag.
Step by step guide to make your own DIY bean bag chair
1. Buy the fabrics
 In order to make the bean bag, you would have to make two bags, one interior and one outer cover. The interior bag will be the one you fill, either with organic cotton or the filling of your choice. The fabric for your inner bag need not be anything fancy, but it should be sturdy and cheap. For a bag which is 0.71 m high and 1.27m diameter, you will need 5.49m length and 1.54 m wide fabric.
For the cover for your DIY bean bag chair, buy a fabric which is comfortable to sit on, and has good visual appeal as well, such as Denim, Corduroy, Fleece, Flannel and Velour.
2. Pick the filler
Choose the filler of your choice, which is best if it is an eco-friendly filling.
3. Lay out the fabric
Spread out the fabric on the floor or worktable. You have to cut out a circumference of 4.32 m. Find the centre and make sure you have about 27 inches of the fabric on both sides of it. Use chalk/pencil to make the marks.
4. Trace the circle’s outline
When you are making the DIY bean bag chair, which you have filled with alternative fillers, then trace out a circle outline on the fabric, using a string which is 27 inch long to draw the circle which has a radius of 27 inch. Cut out the circle, and create another circle by placing that circle over the cut-out. Then unroll another 54 inches approx or 1.37 m from the other fabric, cut it out and in total you should have four circles in total from both the fabrics.
5. Cut out two rectangles
Cut out two rectangles of 87×32 inch dimension, twice from the same fabric. So you will have four rectangles from both the fabrics.
6. Sew, sew, sew
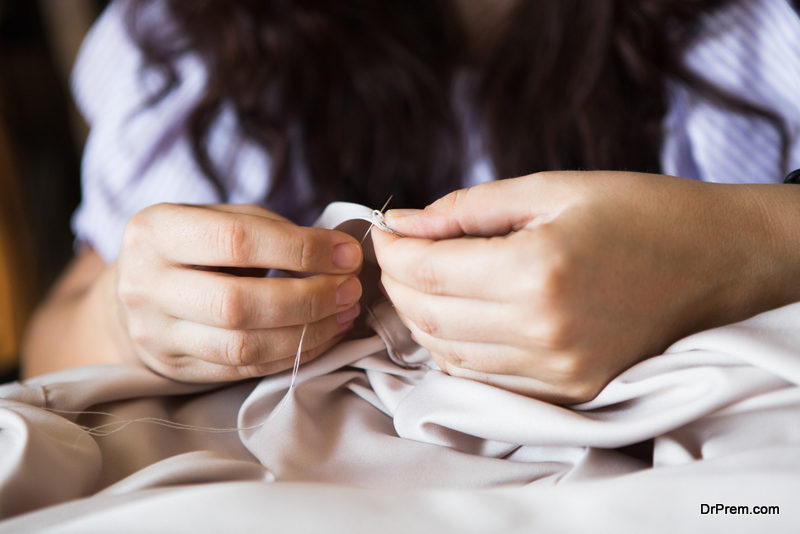 Now, one of the steps to make the DIY bean bag chair is to sew the rectangles –sew each pair of the same fabric along the shorter side.
7. Attach circle to rectangle
Now, attach one of the circles to the rectangles longer sides, keeping the sides which will be on top together. Sew both the ends together with seam of 1.27 cm. Sew the rectangles short ends, and long sides. Heavier fabrics should have higher seam allowance.
8. Attach the bottom circle
While making the DIY bean bag chair, the circle which you sewed around the rectangle is the top of your bean bag. Now, for both the bags attach the bottom part with pins to the long sides of the rectangle but leave room for the zipper. The zipper is optional for your inner bag, but you have to leave a gap to put in your filling.
9. Fill the bag
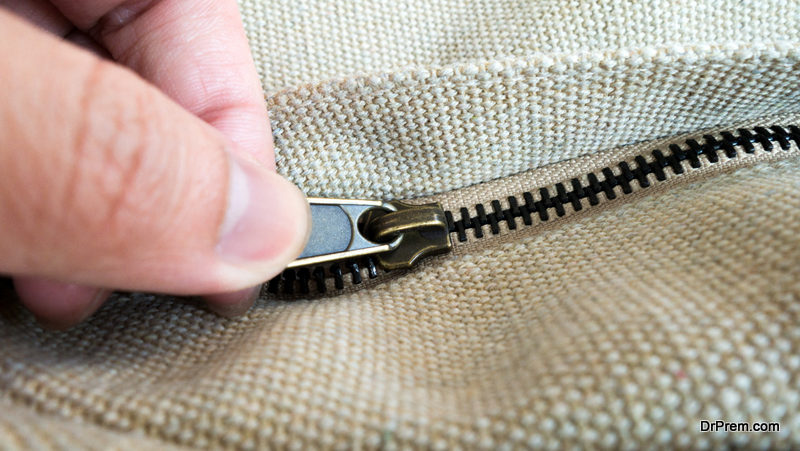 Fill in the inner bag, then zip it up. Put on the cover of the bean bag, and your bean bag is ready.
DIY Bean Bag Chair Vs. DIY Bean bag couch
 A DIY bean bag couch could be even better than a DIY bean bag chair. One thing about bean bags is that you can’t stretch your legs out on them, but with the bean bag couch, you can do that easily. Keep it in your living room or bedroom and enjoy the most comfortable couch you have ever sat/slept on.
It can be made quite inexpensively, but cost depends on the materials you use. Making the rectangular couch is easier than the regular couch, btw, though you have to cut out two circles for the sides, instead of the top and bottom. The rest of the process is very similar to the one outlined above.
Bean bags are very versatile, and they can also be glued instead of sewn, using fabric glue. From baby bean bag chairs (with straps), you can make any design and size depending on your usage.