

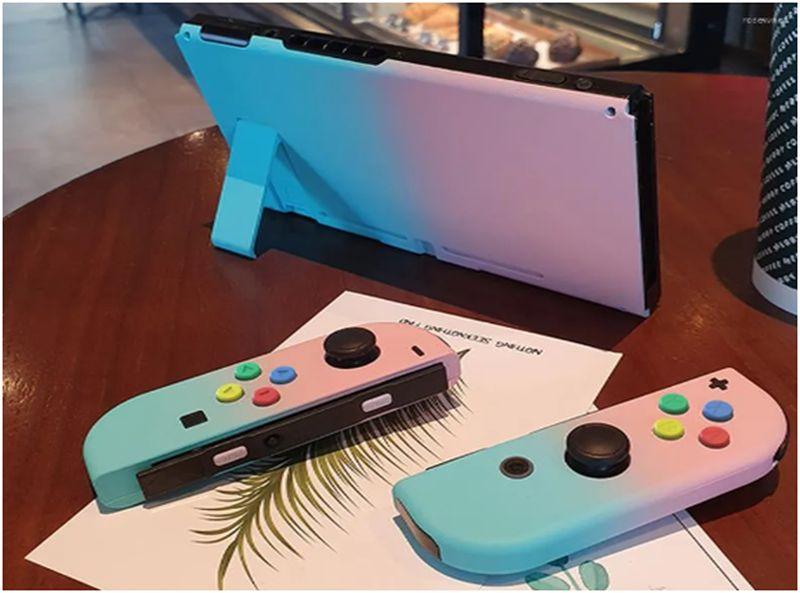
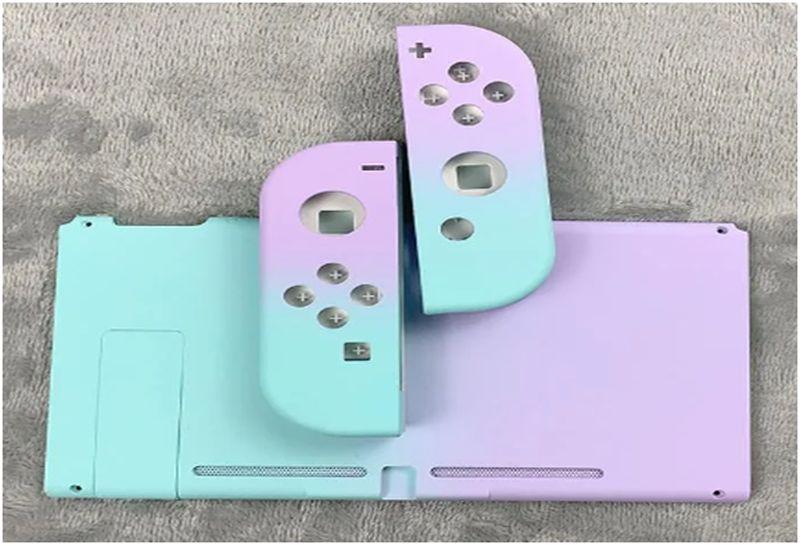
Are your joycon controllers looking a little bland? Do you wish your Switch gaming experience had more of a personal touch? If so, then personalizing your joycon shells is the way to go. Not only will it make your controllers look unique, but it can also improve your gaming experience by making it easier to identify your controllers from others.
Personalized joycon shells can also be a great conversation starter. Imagine going to a gaming event or gathering and having people ask about your custom controllers. It is a fun way to show off your imagination and enthusiasm for video games. Another benefit of personalizing your joycon shells is the satisfaction of creating something unique. You will have a sense of pride knowing that you made your controllers look the way they do.
Different Ways to Personalize Joycon Shells
There are several ways to personalize your joycon shells, with endless possibilities. Here are some popular methods:
1. Painting
Painting your joycon shells is one of the easiest ways to add a unique touch to your controllers. You can create a design that reflects your personality and style with the right tools and techniques. For example, you can use spray paint, acrylic paint, or nail polish to achieve your desired look.
Before painting your joycon shells:
- Disassemble them carefully and cover any parts you do not want to paint.
- Use sandpaper to lightly roughen the surface of the shells to help the paint adhere better.
- Use several thin layers of paint, waiting for each to dry before moving on.
2. Decals and Stickers
Decals and stickers are another easy way to personalize your joycon shells. You can find pre-made stickers online or create your own using a vinyl cutter or printer. Once you have your stickers, apply them to your joycon shells and use a credit card or squeegee to smooth out bubbles.
If you want to protect your stickers, consider applying a clear vinyl wrap over the top. This will help prevent the stickers from peeling or fading over time.
3. Hydro-Dipping
Hydro-dipping is a popular technique that involves dipping an object into a water-based film with a design on it. The film adheres to the object, creating a unique pattern. To hydro-dip your joycon shells, you will need a hydro-dipping kit, which includes the film, activator, and spray gun.
Before dipping your joycon shells, clean and prep them properly. Then, follow the instructions on the hydro-dipping kit to apply the film. Once the film is used, allow it to dry entirely before reassembling your controllers.
Materials Needed for DIY Joycon Shell Personalization
The materials you will need to personalize your joycon shells will vary depending on your chosen method. Here are some general supplies you may need:
- Screwdriver
- Sandpaper
- Paint or vinyl wrap
- Decals or stickers
- Clear coat spray
- Hydro-dipping kit
- Gloves
- Protective eyewear
Find out what resources will be required for your strategy of choice to guarantee you can finish the task.
Tips and Tricks for Joycon Shell Personalization
If you want to customize your joycon shells, follow these guidelines for the best results:
- Take your time and be patient. Hastily completed tasks can provide inconsistent or incorrect outcomes.
- Use a well-ventilated area when painting or spraying products to avoid inhaling fumes.
- To prevent chemical damage to your hands and eyes, always use gloves and goggles.
- Avoid touching the shells with your bare hands after prepping them to prevent oils from your skin from affecting the paint or stickers.
- Use a hairdryer or heat gun to help the paint or vinyl wrap adhere better.
- Apply a clear coat spray to protect your design and make it last longer.
Conclusion
Personalizing your joycon shells is a fun and easy way to add personality to your Nintendo Switch gaming experience. Whether you paint, use decals, or hydro-dip your controllers, there are endless possibilities to create a one-of-a-kind look that reflects your style and personality. Take your time, be patient, and have fun with the process. With these tips and tricks, you will have a set of controllers that look great and make you proud that you created them yourself. So, unleash your creativity and let your joycon shells reflect who you are.
Article Submitted By Community Writer