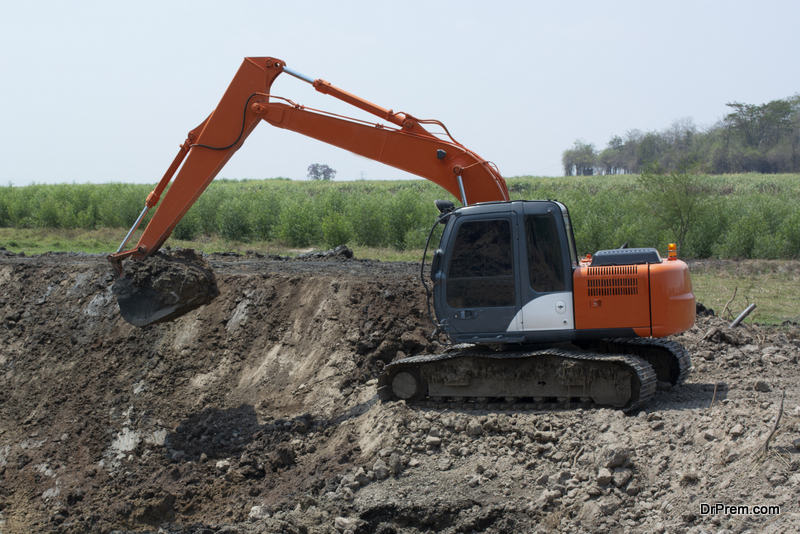
There are several reasons why you might want to build a lake at your property. You might want to do a bit of fishing and what’s better than to do that in your own lake. Instead of buying a recreational property with a lake already on it which would cost you a lot of money, you can make one yourself. This would add value to your property and increase the resale value manifold. The money invested in building your private lake will pay rich dividends later. Here’s a guide to building your own lake, which you might find quite helpful:
Guide to building a private lake
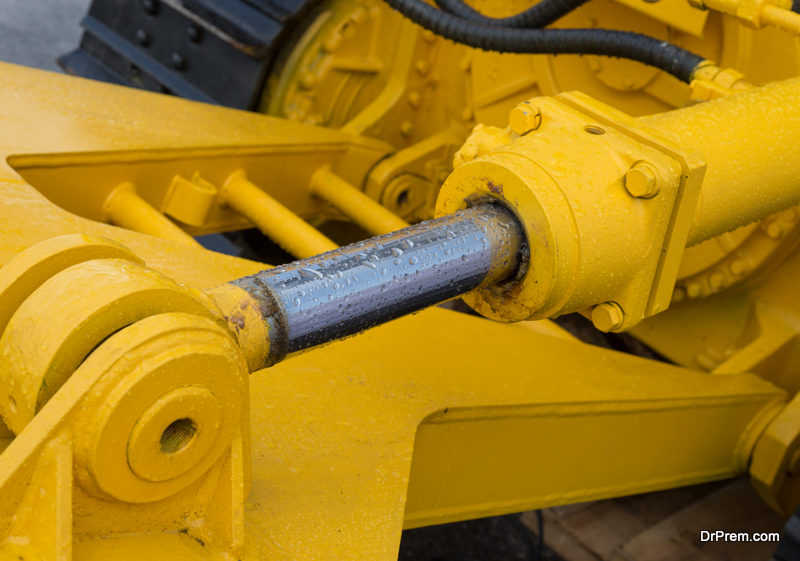 Before building the lake, find out the approximate cost of the project. Even if you DIY it, you might need to hire an excavator, or need the help of a professional to build the dam. If you know the approximate cost, you will know whether to carry out most part of the project yourself, or outsource it to local lake building professionals.
If you don’t want to DIY, be sure to get as many quotes as possible from the companies who have the experience of digging ponds and lakes. It’s better to not to pay hourly rates, but ask for a rate for the complete job and pay accordingly.
To maintain oxygen levels, the lake should not be too muddy or have underwater weeds, and the surface area has to be sufficient to absorb a lot of oxygen. Building a private lake which is a little shallow with greater surface is better for oxygen levels rather than a deep lake with small surface.
The pH of the water should be 6.5 to 8, for the health of all kinds of fishes. Do check that the water in your lake is not fed by polluted streams and check that sewage, pesticides, etc are not polluting your water source.
Step 1
 The first step is to evaluate the land when you are planning to dig a pond, which could be the size of a lake. Visualize how it would look once it is filled with water. The best locations usually are found on land which is low lying. This ensures that the water will drain into the lake naturally, and it will not dry up. Building a private lake near a stream is even better as the stream can feed your lake. But it’s better not to let the stream feed the lake directly, which might cause problems later on, after a couple of years when the lake needs to be cleaned of accumulated silt.
Instead of going for a circle, you can design a lake which has some curves and bends, separated by trees as well as shrubs to create the illusion for anglers that they are alone. Also, there is more fishing space around contoured lakes than perfect circle.
As large earth moving machines will be required for building a private lake, you will have to take the permit from the planning commissions to use them, and any permission required, before commencing your project.
Step 2
Clear the brush and trees. The burnt brush can be used to build habitat for the fish or to build structures for the larger fish, to ambush and hide. The land which is dug up can be used to construct the dam. If you are building a private lake, then you would need clay for the dam, as it would not allow water to flow out. The trees on the back of the dam should be cut, and pull out the roots, or water might seep through the roots.
Using tape measure and lake plans, and with a hammer, drive survey stakes into the ground, and mark the edges. Paint the stakes orange at the top so that they are easily visible.
The depth of the lake depends on the kind of fish you want to stock, such as trout, which requires 1.5 – 2 meters.
Step 3
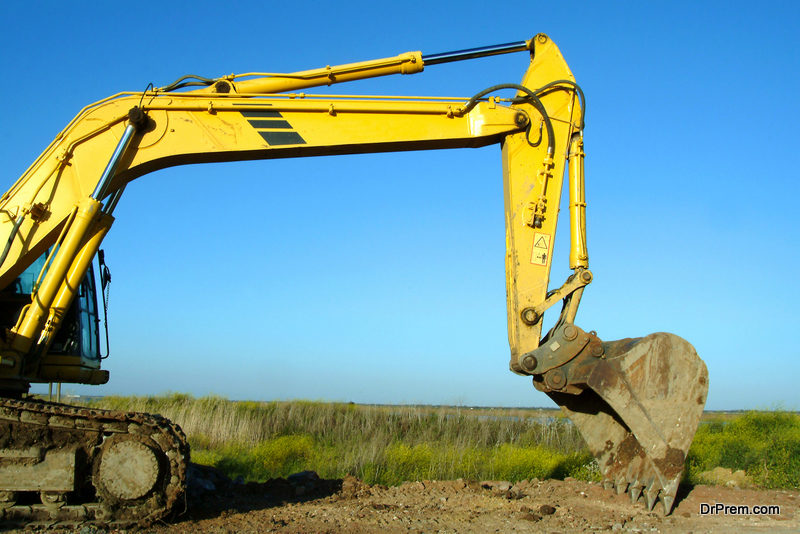 Use a backhoe to clean the top layer of the ground of all the weeds, shrubs and grass. Use a frontloader to remove all the debris from the area.
Step 4
Mark the lake ground with some orange spray while you dig a pond, with all the sections clearly demarcated according to depth, as shown in the plan.
Step 5
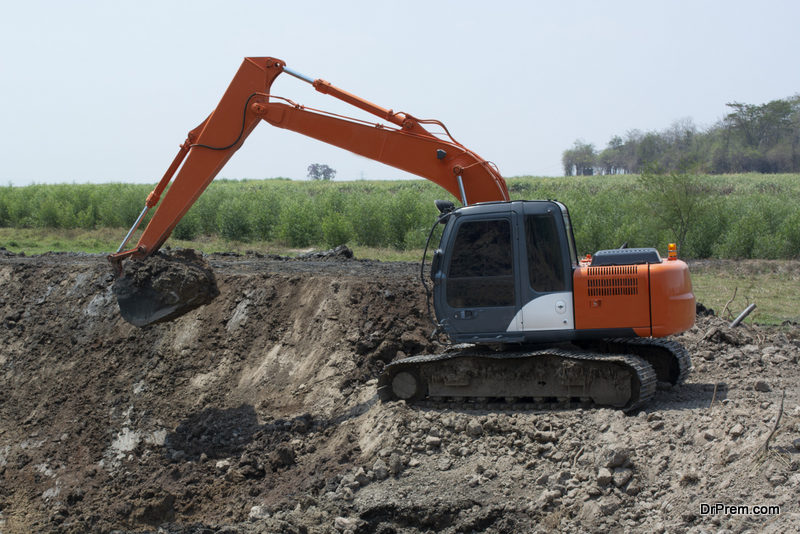 While building a private lake with an excavator, set it up at the center of your lake. Dig in one straight line to the lake’s other end, and keep dumping the dirt into dumptruck or frontloader. As you or the backhoe operator dig, the spotter should check depth of every section with depth stick, to ensure that the depth matches the plan. This is very important when you are digging the lake with an excavator.
Once you reach the other end, bring the excavator to the end from where you started digging, as then you can set it up in a straight angle. Keep doing this till you dig the lake completely.
Step 6
Lay a small drainage pipe of about 30 cm diameter, as this pipe will help in draining the water out for maintenance purposes. Pipes should have posts at the side to secure them, and must angle downhill. The dam for your lake should be 1 meter thick, if you are suing hard clay, or else 3 meters for soft clay. Reinforcing rods should be used for concrete foundations and these rods must equal the height of the ‘monk’. The monk should be built at the deepest part of the lake.
Once the dam is completed, you should dig a ditch further down the stream which should be connected to outlet pipes.
Step 7

Selecting the fish is the next step of building a private lake. If the lake is clay or gravel bottom, then trout is the best choice of fish. If your lake has a muddy bottom, then coarse fishes such as tench or carp can be selected.
You might keep ducks too, preferably wildfowl, or they may choose your lake as their home. This is not a problem as long as their numbers are low. The droppings of birds will fertilize the lake’s water and create the perfect habitat for coarse fish. Enjoy fishing or swimming in your very own private lake and feel rejuvenated in the midst of your natural haven!


