

Solar lamps are the perfect solution for your home, as they consume only renewable energy and having a few of these lamps in and around your home will reduce energy bill and create a beautiful green lit up space outdoors and indoors. These DIY lamps are easy and look great. Made from simple things you can find easily, and you don’t need any electrical experience either. Check out how to DIY Solar Lamp as well as garden lights and more.
1. DIY Solar Lamp
Materials you need
 An old lamp, spray paint, scissors, spider ring/socket frame lampshade, waterproof epoxy or any other industrial strength glue.
How to
Cut the cord of any old lamp using the pair of scissors, remove the wiring as well as the socket. If you want, spray paint the base.
After removing the spike from solar garden light, activate solar panel according to the instructions on the label. For the spider ring lampshade, glue your garden light to the base of the lamp using a strong glue. The lampshade also has to be glued to the garden light’s top. Keep the solar panel exposed, as much of it as you can, but the panel will keep charging when it is partially covered.
For socket frame lampshade, the lampshade has to be glued directly to the base of the lamp. Then glue the garden light to your lamp base as well as the socket frame of lampshade. This is one of the easiest solar garden lights you can make.
2. DIY patio solar lamp
Materials you need
Tall candlestick with concrete base, hanging planter basket, spray paint (Black or another color), medium-fine sandpaper, solar yard lamp, longer screw with washer, scrap wood pieces, zip ties, vice grips, drill, miter box, saw. As the lamp would be outside, you would need a heavy base which can be picked up at clearance sales of hobby and craft stores, or at garage sales.
How to
First, measure everything so that you have the right length of screws etc. ready. Fit the glass candle holder into the metal dish attached to the stand. Another piece of glass allows for screws to fix the glass to stand. The second piece is turned over and fits perfectly on the first glass piece.
A wooden block was used to fill the rest of the space and also to drill hole for screw. Now take the stem off the solar yard lamp, measure the length of the lamp stub then cut the wooden piece according to your choice.
After this, make the lampshade. Fill in the planter basket with coconut liner and secure them with vice grips.
Next, ensure that the base is strong and ready to add solar lamp. Place the wooden block inside the base to test it out. Make any necessary adjustments before you put on the polish and the paint. After the base is ready for the solar lamp, use the screw and the washer and put inside the stem of the lamp. Then after tightening the screw, attach it to your base. This is one of the solar garden lights which will be sturdy and weather proof.
To make the lampshade, place it upside down on top of the lamp, and then decide where you have to drill the cap of the lamp to place the zip ties to attach the lampshade. After roughing up the base as well as all the pieces you want to paint with sandpaper, spray paint at a distance of 12 inches. Before assembling the lamp, let everything dry.
3. DIY waterdrop solar light
 This DIY project is quite stunning when it is complete, and uncomplicated and quick. You might find what you need right in your garage.
Materials you need
Hose bib ½ inch, ½ inch 90-degree elbow black pipe, black pipe nipple ½ inch, metal candle holder used for tapered candles, solar light strings (about 100 LED light), moldable glue, spray paint (optional), watering globes.
How to
Screw the 90 degrees elbow on the black pipe nipple. Next, unscrew the handle from hose bob, and pull your light string through first the black pipe and hose bib. After pulling all the lights through, screw your hose bib into your black pipe.
Then, fill your watering globe with your lighted strings. All this will take you just a few minutes making this solar garden lights projects one of the easiest. Get as many lights into the watering globe then coil the rest of them around a thin dowel, if you want some lights in the watering globe’s neck.
Now, test if the connections are working. Do the necessary corrections if the connections are not working properly. Then pull the gasket off the handle of the bib, and screw it back into place, taking care that the position is in ‘open’ position.
With some moldable or epoxy glue, connect hose bib to the watering globe. Let the glue cure overnight. Then paint the moldable glue with metallic brass-paint, and put the whole structure together. Your watering globe solar light is ready to be lighted up with solar power.
4. DIY Solar light
This solar light can provide 20-22 lumens light in a day’s charging. 2000mah AA battery can be charged completely in two days of bright sunlight. It’s as simple as hanging it by a hanger on a window or wire outside. It can be used as a budget light for those who do not have access to grid electricity. The solar light saves electricity too, and if it replaces kerosene lamps, then it reduces the air pollution too.
The DIY solar light project is extremely useful as it can be used for various purposes – as a reading light, Night lamp, portable emergency lamp, hiking/camping light and as a garden or lawn light.
Materials you need
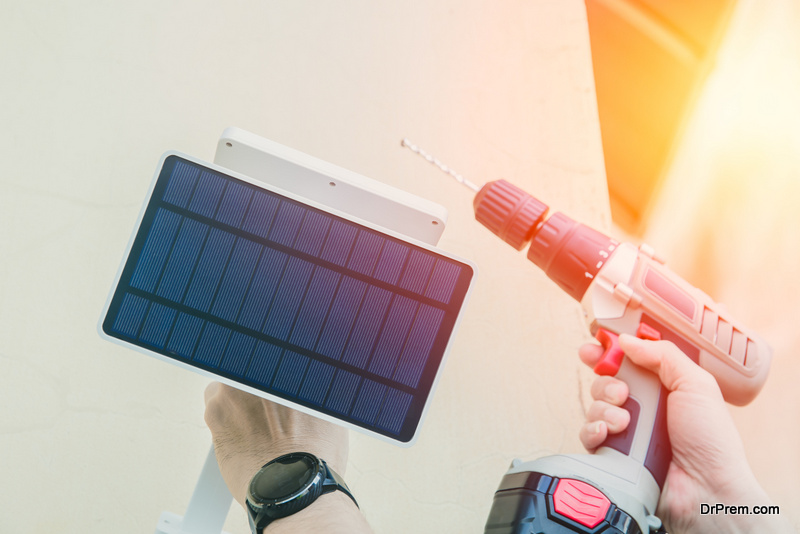
AA NiMH battery, solar panel (2V 150 mA, or 2V, 40mA, or 2V, 300mA), 0.5W white LED, switch, rechargeable AAA or AA battery, IC QX5252F, AAA or AA battery holder, wires, aluminum hanger, plastic container, prototype board, PCB V2.0, hot glue gun, soldering iron, pliers and wire cutter and stripper.
Connections
Just like most solar lights, at the center of this bulb is the 4-legged IC QX5252F, which works very like the ‘Joule Thief’ circuit.
Now, to make the connections, connect the Pin 1 to Solar panel +ve terminal, Pin 2 to +ve Battery terminal and conductor’s one leg, Pin 3 – all ground (Battery, solar panel, battery and LED -ve terminal), Pin 4 should be connected to the other leg of the conductor.
The next step in this DIY solar light project is to try it out on a breadboard before soldering, as you still have the opportunity to check if all the components work properly. If the circuit is correct, the LED will not glow, but if you cover the solar panel with your hand, then the LED should glow.
Selection of battery, solar panel, inductor and light
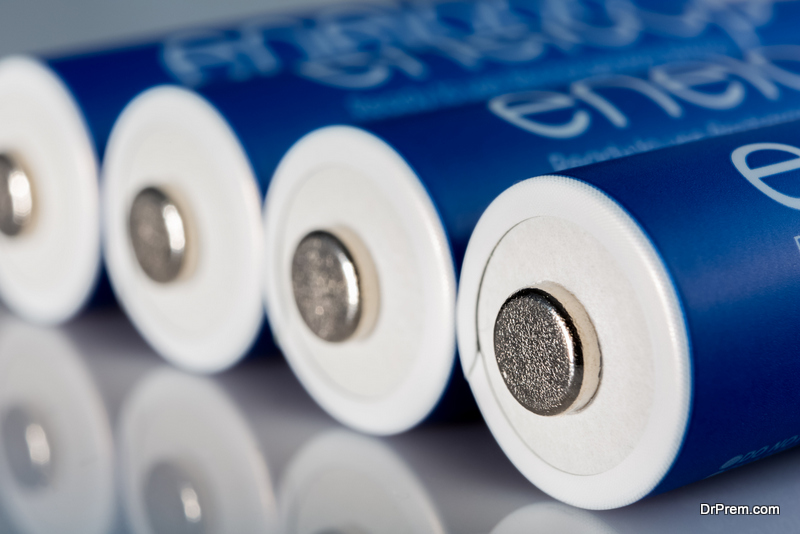 The next step is to select and gather the battery (eneloop batteries for example which are pre-charged, can be recharged upto 2100 times and can hold a charge till 5 years after charge), inductor, solar panel and white LED light. 2V solar panel with 150mA can be chosen, but make sure it can sit over the lid.
The brightness of the bulb is controlled by the inductor. For a 0.5 W straw-hat LED, 33uH or 47uH
inductor can be used. As for the bulb, 0.5 W straw-hat LED will have strong illumination.
Ready the container
You will need a container to hold your light. Drill two diametrically opposite holes near the top of your container. These holes will be used to mount the hanger. Then cut up the hanger with pliers at both the ends. Use the hook for hanging, and the straight part will be used later. Trim both the ends if you want, then bend and insert into the holes you made in the container.
Make the stand
 To continue making the solar powered light, use the straight part of your hanger, after bending it at the center, and then make two folds about 9 cm away from the center. The length of the two folds should be 1.5 cm each. Then insert into the container and cover the lid. The stand is useful for charging as you can change the direction to get the optimum sunlight.
The stand is useful to point the light in any direction too.
Assembling/attaching all the parts
Solder the components into the perforated board, according to schematic. Solder red and black wires to the +ve and -ve terminals of solar panel. Then drill 3mm hole at the lid’s center. Pass wires from the solar panel under the lid. Apply the glue on top of the lid, press the solar panel so that it sits firmly.
Then mount AA battery holder on the lid’s underside and glue it on.
Connect the switch after the glue dries. Trim the red wire of the battery holder in two parts and solder the trimmed pieces to the central terminal of switch and cover the joins with insulating tape to avoid any short circuit. Solder wires from solar panel to circuit board. Press circuit board to the underside of the lid and fix the switch to it also, with glue. Insert the battery into battery holder.
You have now finished making the solar powered light. Test the solar light by switching it on. If it glows then close the container lid. Your incredible DIY solar light is ready for use!