
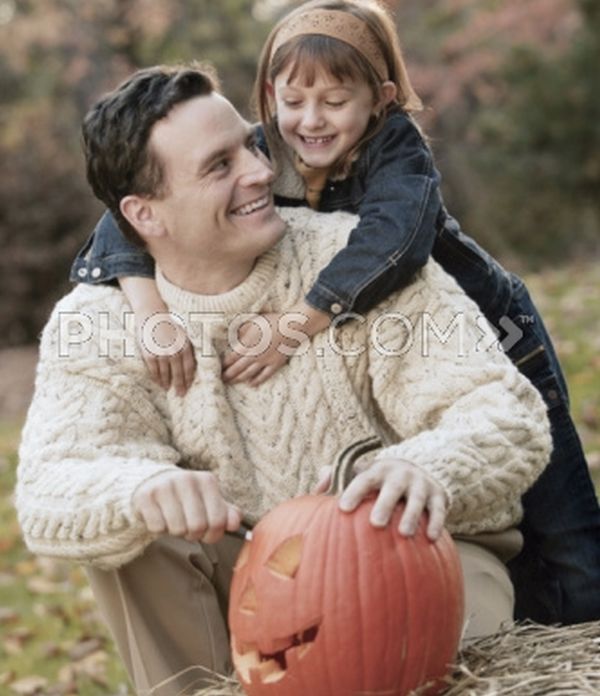

Halloween has gained cult prominence traditionally and the most important activity in the build-up to the Halloween is that of making Halloween decorations. While many prefer to go and dish out money to buy the decorations, this may not be a sensible step after all! Firstly, most of the decorations are sold cheap, meaning they are made from low quality materials. These are harmful to the environment and are manufactured under uncertain conditions.
Celebrating Halloween by maintaining environmental and social harmony can be a brilliant initiative. However, in today’s busy world, not many will have the time design and devise their own Halloween decorations. So to help all of those who believe they haven’t got the time or the skill, we have tried to help you out by providing some basic decoration design procedures.
Making Spooky Bats
The easiest Halloween specimen to make is that of a bat. You can create multiple copies of these, as it’s very easy to make and convenient at the same time. Firstly, you need to draw a picture of bat and trace it down to a cardboard. Then, apply the traced cardboard with a shining colour. Cut out the coloured cardboard piece using a scissor. You can stick these bats on a wall or hang them from top with a connecting thread.
Hanging bats
The idea is very similar to that of the spooky bat making. You just need to cut out a cardboard piece or a paper in the shape of a bat. You can then pierce it at the points where eyes should be located. Put them down on a light coloured thread from the branch of a tree and your hanging bats are ready move around!
Hanging head in the container
Cut out a thick piece of morphed head by printing it out on a heavy paper. Now insert this paper into an old jar or a container with the face facing the observer side. Insert some hair strands into the jar and also colored water. Your 3D Halloween witchy face in the container is ready to scare the guests!
Creating Candy filled Halloween Boxes
For this, you will need to get your empty milk packets and cover them up with paper. Draw doors and windows on separate paper sheets. Attach these to the paper covered milk cartons by using glue. You can fill the milk cartons with gifts such as candies. Make sure that you wash the milk cartons thoroughly before packing though!
Making a BOO design on a Metal Tin
A BOO design can be incredibly simple to make, yet has a very effective Halloween effect. Firstly, you need to fill the metal tin with water and put it into your freezer. Allow the water to freeze and get converted to ice. This is done so that when we will hammer the nails on to the paper, it will keep the tin stiff and there wouldn’t be any denting.
Next up, cut a paper to fit the tin size and make the desired alphabetical design on it. Now take a hammer and keep making holes on the periphery of the designed alphabet. It can take time, so be patient with the process and do not over-emphasize on making a clean and neat design. Once you are done with the hole making process for one tin, remove the other two tins from the freezer and repeat the procedure. Allow the ice to dry and collect the water in a bucket. Finally, place a tea light in each of the tins and switch off the lights to see our wonderful creations emitting spooky glow!
Halloween creations need not be too complex all the time. Simple creations can give you the satisfaction of being environmentally friendly while being your own creations!